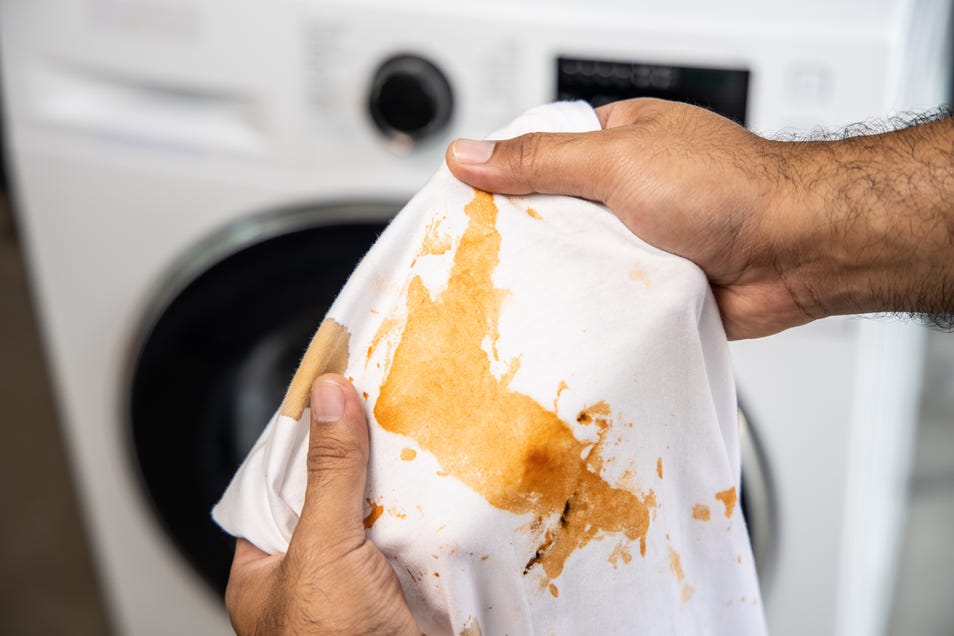
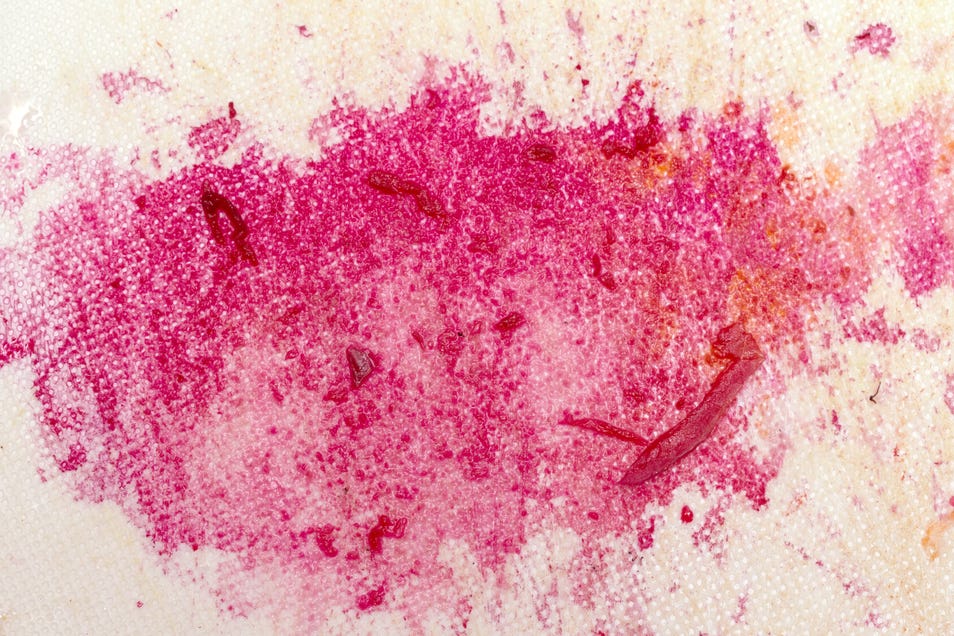
There’s nothing more frustrating than pulling a fresh load of laundry from the machine, only to find your crisp whites now tinged with pink or your pastel shirts stained by a rogue dark sock. These aren't just cosmetic accidents. They’re common signs of dye transfer. And when it hits, the only solution is removing dye transfer stains after laundry mishaps as quickly and safely as possible.
The problem often goes beyond what you see. Dye stains can embed deeply, and regular detergent won’t lift them. That’s why a reliable dye transfer stain remover is crucial. And if you want to ensure this doesn’t happen again? You’ll need proven ways to prevent colour bleeding every time you wash. Whether it’s your work shirts, your kids’ uniforms, or your favourite outfit, here’s how to fix colour runs on clothes and protect them for the long haul.
Why Dye Transfer Happens Even When You’re Careful
Even the most cautious laundry routines can end in disaster. You separate whites, and still see colour spreading. Why? Because many fabrics contain unstable dyes that release during the first few washes.
Unfixed dyes, hot water, and overcrowded machines all increase the chance of colour bleeding. Once the colour lifts, it can settle into other garments, and trying to wash it out later is tough. That’s why removing dye transfer stains after laundry mishaps requires the right timing and tools. Once the stain sets, only a targeted dye transfer stain remover can restore your fabric without ruining its original shade.
Spotting Dye Stains Before They Set
The earlier you notice a colour run, the better. However, dye transfer doesn’t always appear in bold, blotchy patterns. Sometimes, it’s a faint hue shift, like a blue tint on your white tee or greyish tones on pastel bedsheets.
Watch for:
- White clothes losing brightness.
- Logos and prints bleeding into lighter areas.
- Unusual dullness after a multi-colour wash.
Noticing any of these? Your best chance lies in removing dye transfer stains after laundry mishaps immediately. Don’t dry the garment or rub it. Just move straight to the treatment process with a proven dye transfer stain remover.
Pre-treating for Fresh Dye Transfers
The moment you spot a stain, act. Here's how:
- Apply Vanish Oxi Action Liquid directly to the stained fabric.
- Gently rub with a soft brush.
- Let it sit for 10 minutes; do not let it dry.
- Wash immediately as per the garment label.
This method works best for fixing colour runs on clothes that have just come out of the machine. The sooner you act, the more successful the removal will be. It's especially powerful when combined with Vanish Oxi Action Liquid’s unique formula, designed to lift embedded dye while protecting the fabric's natural colour.
Soaking Out Set-in Stains
Missed your chance to treat immediately? Don’t worry. You can still tackle the damage with a soak.
- Add 2 capfuls of Vanish Oxi Action Liquid to 5L of warm water.
- Soak white fabrics for 6 hours.
- Soak coloured fabrics for no more than 1 hour.
- Finish with a regular wash.
This process is ideal for removing dye transfer stains after laundry mishaps that weren’t caught right away. Over time, dye seeps deeper into fibres. A soak gives the stain remover time to work and lift colour thoroughly.
Preventing Colour Bleeding in Every Wash
Even if your current load looks fine, future damage can still occur. That’s why every laundry cycle is a chance to protect, not just react.
To prevent colour bleeding:
- Add 1–2 capfuls of Vanish Oxi Action Liquid to the drum with your detergent.
- Wash mixed or uncertain loads with warm or cold water.
- Always use this method with new or brightly coloured garments.
This proactive step helps trap loose dyes before they settle on other fabrics. It’s the smartest way to avoid needing to fix colour runs on clothes later.
If you’re washing items for the first time, especially reds, navies, or patterned garments, this method should be non-negotiable.
Fix Colour Runs on Clothes Without Guesswork
You don’t need home remedies or DIY hacks to handle laundry disasters. In fact, many online tips, like salt soaks or vinegar rinses, can make things worse. These can set the stain deeper or damage the fabric entirely.
Instead, stick with a dedicated dye transfer stain remover that’s tested, colour-safe, and designed for multiple use cases. Vanish not only supports removing dye transfer stains after laundry mishaps, but also strengthens your laundry care system to avoid repeat accidents.
Quick Facts to Remember:
- Removing dye transfer stains after laundry mishaps works best within 24 hours
- Always air dry after treatment to check if the stain is gone.
- Use a routine of Vanish Oxi Action Liquid to prevent colour bleeding across all washes
- Don’t bleach or mix other stain removers; this can damage colours permanently.
- Know your fabrics: cotton, viscose, and blends are the most dye-sensitive.
Protect Your Wardrobe with Smart Stain Care
Dye stains might start as a small mistake, but if left unchecked, they can ruin your entire load. The good news? You don’t need to throw anything out. With a bit of awareness and the right tools, fixing colour run on clothes becomes a routine task, not a last resort.
By removing dye transfer stains after laundry mishaps early and using Vanish as a consistent dye transfer stain remover, you can confidently manage any laundry load. And by building habits that prevent colour bleeding, you reduce the risk of future damage altogether.
Because your clothes deserve better than a one-wash disaster, and now, they can have it.


