Preparing your ironing station
Start by selecting the appropriate ironing board for your needs. Consider the size of the board and ensure it provides a stable and comfortable surface for ironing. Adjustable height settings are also beneficial to ensure you can iron comfortably without straining your back. Next, adjust the heat settings on your iron based on the fabric type. Most irons have different temperature settings for cotton, linen or synthetic blends. Refer to the fabric care label or the iron's manual for guidance on the appropriate heat setting. Remember to keep the iron cord away from the board to avoid any accidental tripping or pulling and make sure there are no flammable or hazardous materials nearby.
Ironing the collar and cuffs
The collar and cuffs are often the most visible parts of a shirt, so it's essential to iron them properly. Begin by laying the collar flat on the ironing board. Use the point of the iron to press the underside of the collar first, moving from one end to the other. Then flip the collar over and repeat the process on the top side. This creates crisp edges and removes any wrinkles. Next, unbutton the cuffs and lay them flat on the ironing board. Iron the inside of the cuffs first, using the point of the iron to press out any wrinkles. Then flip the cuffs over and repeat the process on the outside.
Ironing the sleeves
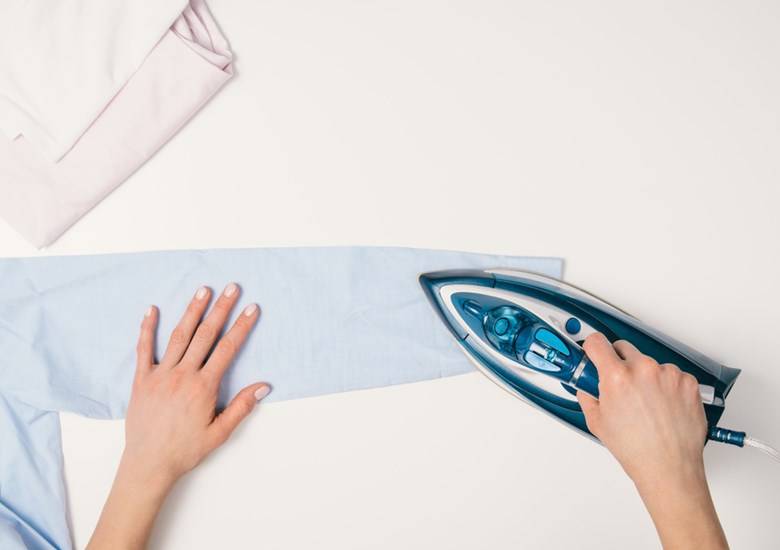
Ironing the sleeves of a shirt can be a bit tricky, but with the right technique, it becomes much easier. Begin by unbuttoning the cuffs and laying the sleeves flat on the ironing board. Start ironing from the wrists, moving towards the shoulders. Use the point of the iron to press out any wrinkles, and be careful around the seams to avoid creating new creases. As you iron the sleeves, pay attention to the placket area where the sleeves attach to the body of the shirt. Smooth out any wrinkles and press the fabric gently to ensure a clean and polished look.
Ironing the front and back
Begin by laying the front of the shirt flat on the ironing board, with the buttons facing up. Start ironing from the top and work your way down, using the point of the iron to remove any wrinkles. Pay extra attention to the areas around the buttons and buttonholes to ensure a smooth finish. Once you've finished, flip the shirt over and lay the back flat on the ironing board. Iron from the top down, using the same technique as before. Smooth out any wrinkles and creases to achieve a neat look. By following these steps, you can ensure that the front and back of your shirt look well-pressed.
Ironing the placket and buttons
When ironing the placket, be careful not to press too hard or directly on the buttons. Instead, use the tip of the iron to gently glide over the fabric, smoothing out any wrinkles. Pay attention to the areas around the buttons and buttonholes, ensuring they are free from creases. To prevent damage to the buttons, avoid placing the iron directly on them. Instead, iron around the buttons, using a pressing motion to ensure the fabric is smooth. If necessary, you can use a fabric cloth or a pressing cloth to protect the buttons while ironing. Now let's move on to hanging and storing the ironed shirt.
Hanging and storing ironed shirts
Once you have achieved perfectly ironed shirts, it is crucial to hang and store them properly to maintain their pristine appearance. After ironing, hang the shirt on a hanger immediately to prevent wrinkles from forming. Use a sturdy hanger that supports the weight of the shirt and allows it to hang freely. When storing your ironed shirts in a wardrobe or closet, avoid overlapping them or cramming them together. This can lead to wrinkles and creases, undoing all your hard work. Instead, give each shirt enough space and consider using dividers or separate sections to keep them organised.
Conclusion
We hope that you have found this comprehensive step-by-step guide on how to iron a shirt useful. By following these instructions and incorporating the tips and techniques shared, you can achieve professional-looking results. From treating stains before you iron to hanging your clothes up once they are pressed, having beautifully ironed clothes doesn't have to be a daunting task. With practice, it can become a quick and efficient part of your care routine. So go ahead, grab your iron and start transforming your wrinkled shirts into perfectly pressed garments! 


